Spring Boot based Java web application using Maven, SonarQube, Argo CD and Kubernetes


This is a simple Sprint Boot based Java application that can be built using Maven. Sprint Boot dependencies are handled using the pom.xml at the root directory of the repository.
This is a MVC architecture based application where controller returns a page with title and message attributes to the view.
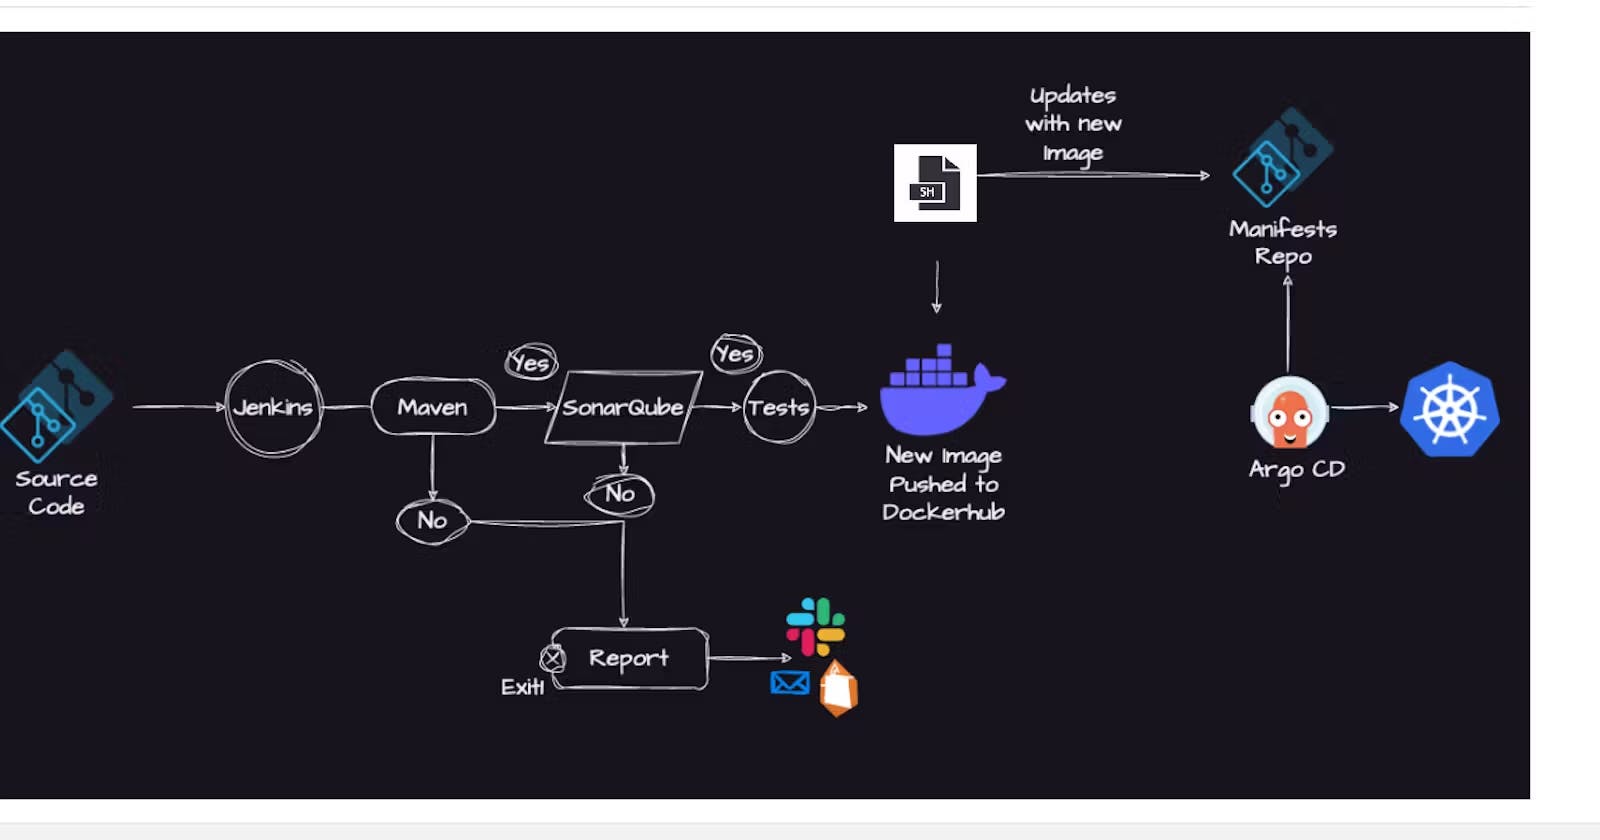
Here are the step-by-step details to set up an end-to-end Jenkins pipeline for a Java application using SonarQube, Argo CD and Kubernetes:
Prerequisites:
Java application code hosted on a Git repository
Jenkins server, SonarQube server and Minikube server for ArgoCD
Argo CD
Tools Required:
Java
Git
Maven
Jenkins
Docker
SonarQube
Minikube
ArgoCD
For this project am launching two Amazon Linux 2 EC2 instances (Jenkins[t2.medium], SonarQube[t2.small]) and one ubuntu (K8s) using Virtual Box
Configuring Jenkins server
Pre-Requisites:
Java
Git
Maven
Docker
Jenkins
Install Java
sudo yum update -y
sudo amazon-linux-extras install java-openjdk11 -y
java -version
Install Git
sudo yum install git -y
git --version
Install Maven
sudo wget https://dlcdn.apache.org/maven/maven-3/3.8.8/binaries/apache-maven-3.8.8-bin.tar.gz
sudo tar zxvf apache-maven-3.8.8-bin.tar.gz
cd apache-maven-3.8.8-bin
sudo yum install maven -y
mvn --version
Install Docker
sudo yum update -y
sudo amazon-linux-extras install docker -y

sudo sysytemctl enable docker
sudo sysytemctl start docker
sudo sysytemctl status docker
Install Jenkins
sudo wget -O /etc/yum.repos.d/jenkins.repo \
    https://pkg.jenkins.io/redhat-stable/jenkins.repo
sudo rpm --import https://pkg.jenkins.io/redhat-stable/jenkins.io-2023.key
sudo yum upgrade -y
# Add required dependencies for the jenkins package
sudo yum install jenkins -y
jenkins --version

sudo systemctl enable jenkins.service
sudo systemctl start jenkins.service
Grant Jenkins user and ec2-user user permission to docker deamon.
sudo su -
usermod -aG docker jenkins
usermod -aG docker ec2-user
systemctl restart docker
As we installed many tools, its better to restart the server
sudo reboot now
Note: By default, Jenkins will not be accessible to the external world due to the inbound traffic restriction by AWS. Open port 8080 in the inbound traffic rules as show below.
EC2 > Instances > Click on
In the bottom tabs -> Click on Security
Security groups
Add inbound traffic rules as shown in the image (you can just allow TCP 8080 as well, in my case, I allowed
All traffic).

Login to Jenkins using the below URL:
http://<ec2-instance-public-ip-address>:8080 [You can get the ec2-instance-public-ip-address from your AWS EC2 console page]
Note: If you are not interested in allowing All Traffic to your EC2 instance
- Delete the inbound traffic rule for your instance
- Edit the inbound traffic rule to only allow custom TCP port
8080
- Edit the inbound traffic rule to only allow custom TCP port
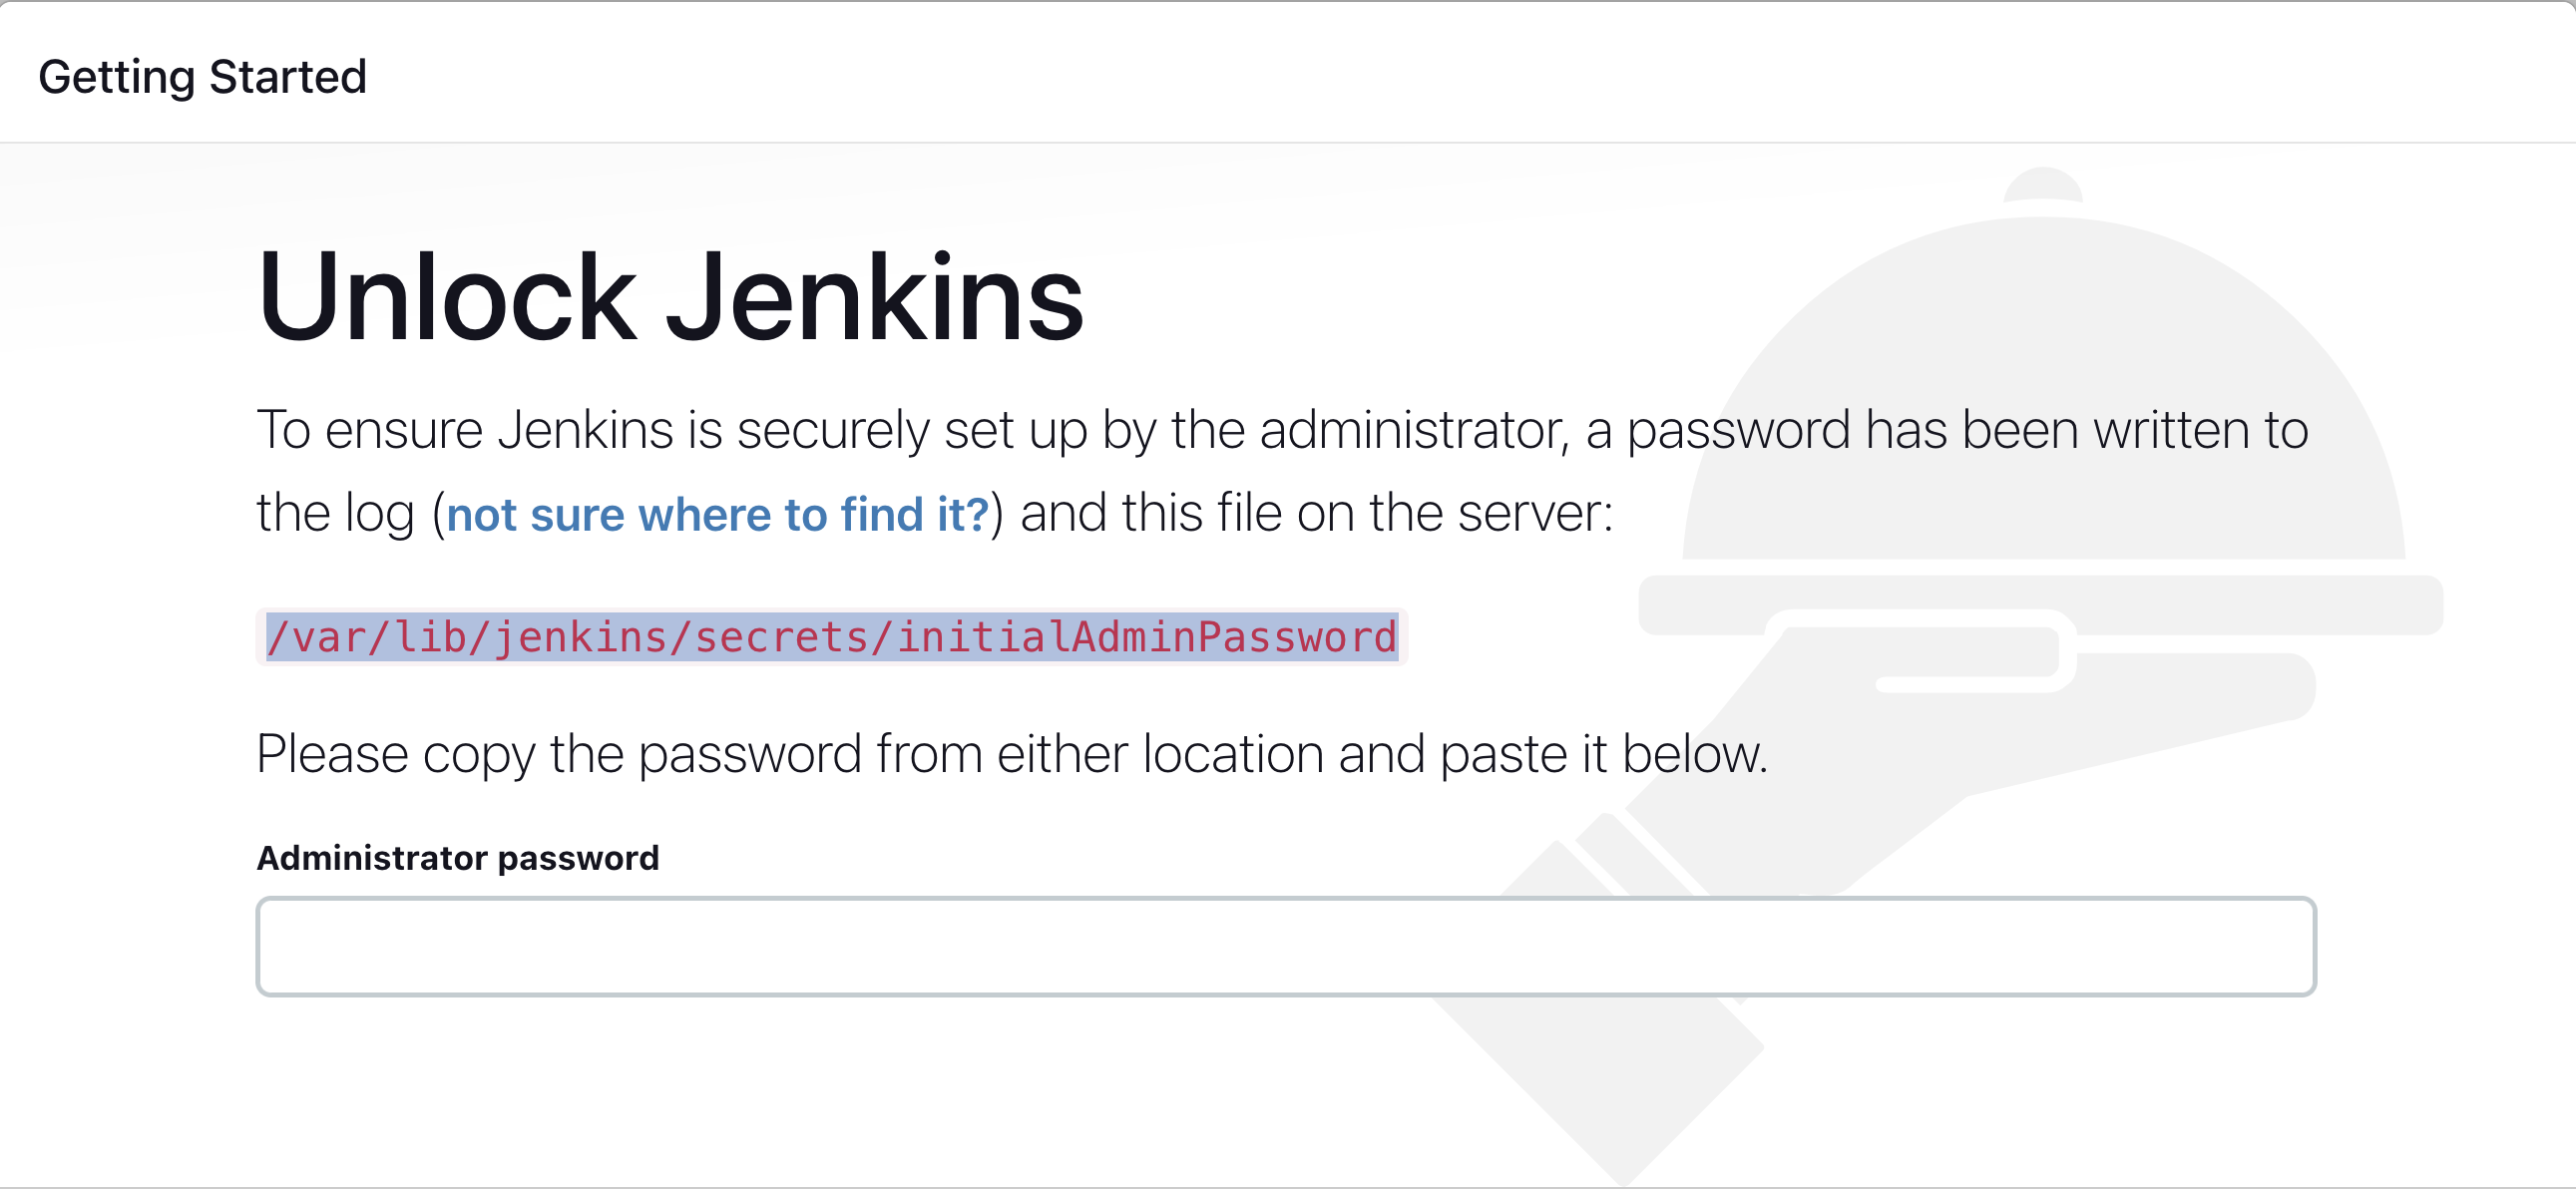
After you login to Jenkins, - Run the command to copy the Jenkins Admin Password - sudo cat /var/lib/jenkins/secrets/initialAdminPassword - Enter the Administrator password
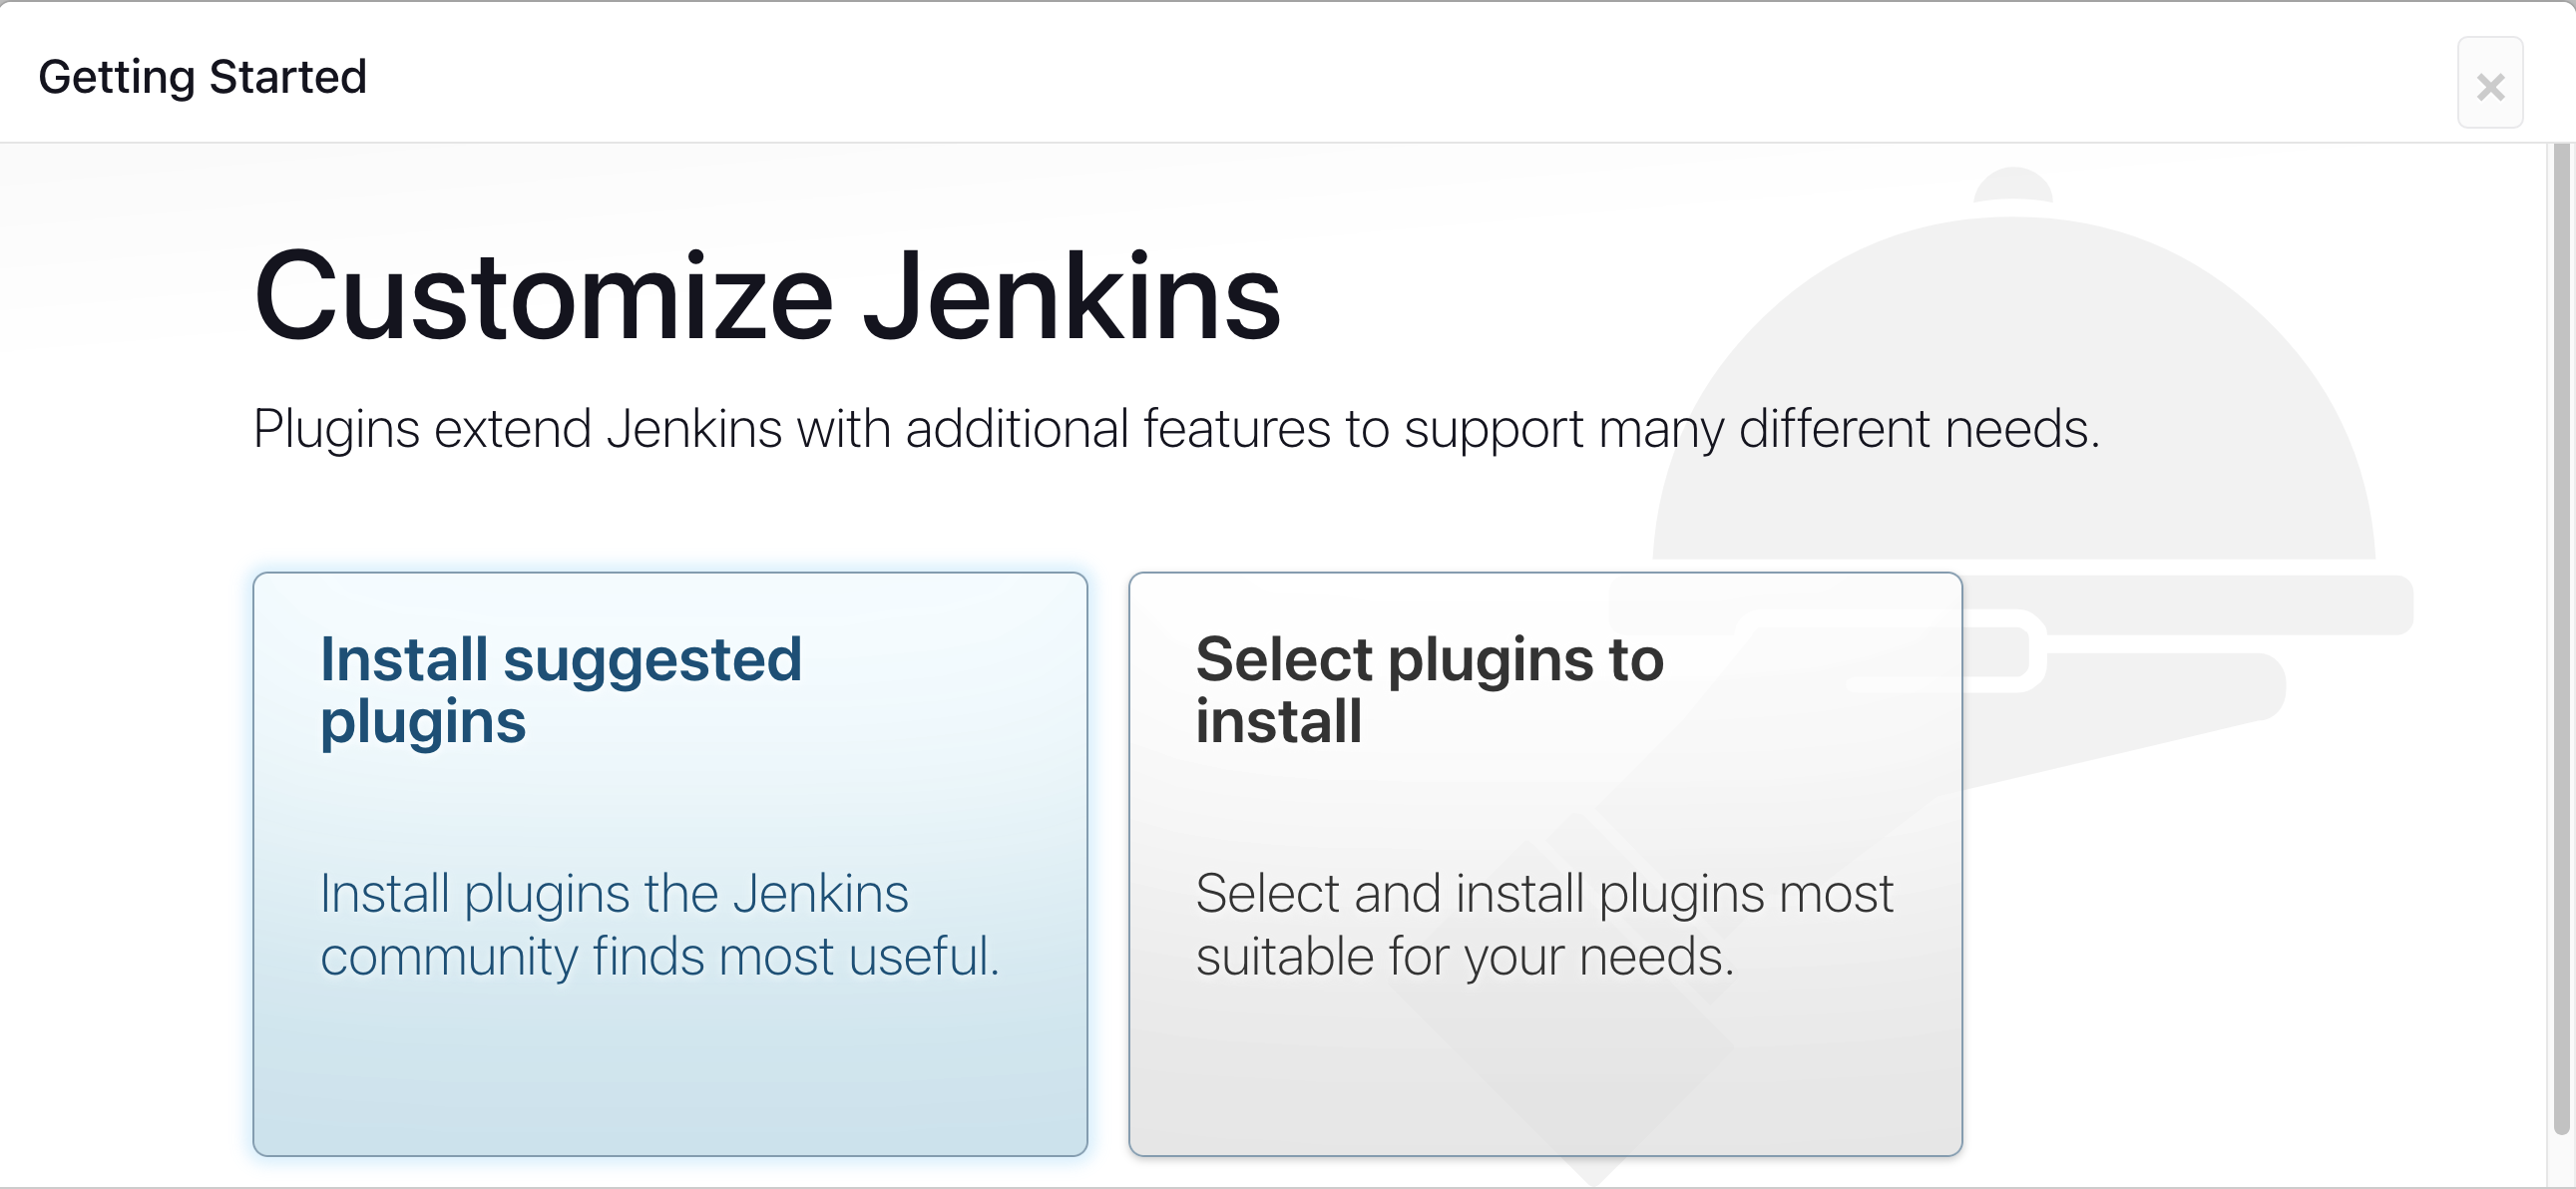
Click on Install suggested plugins
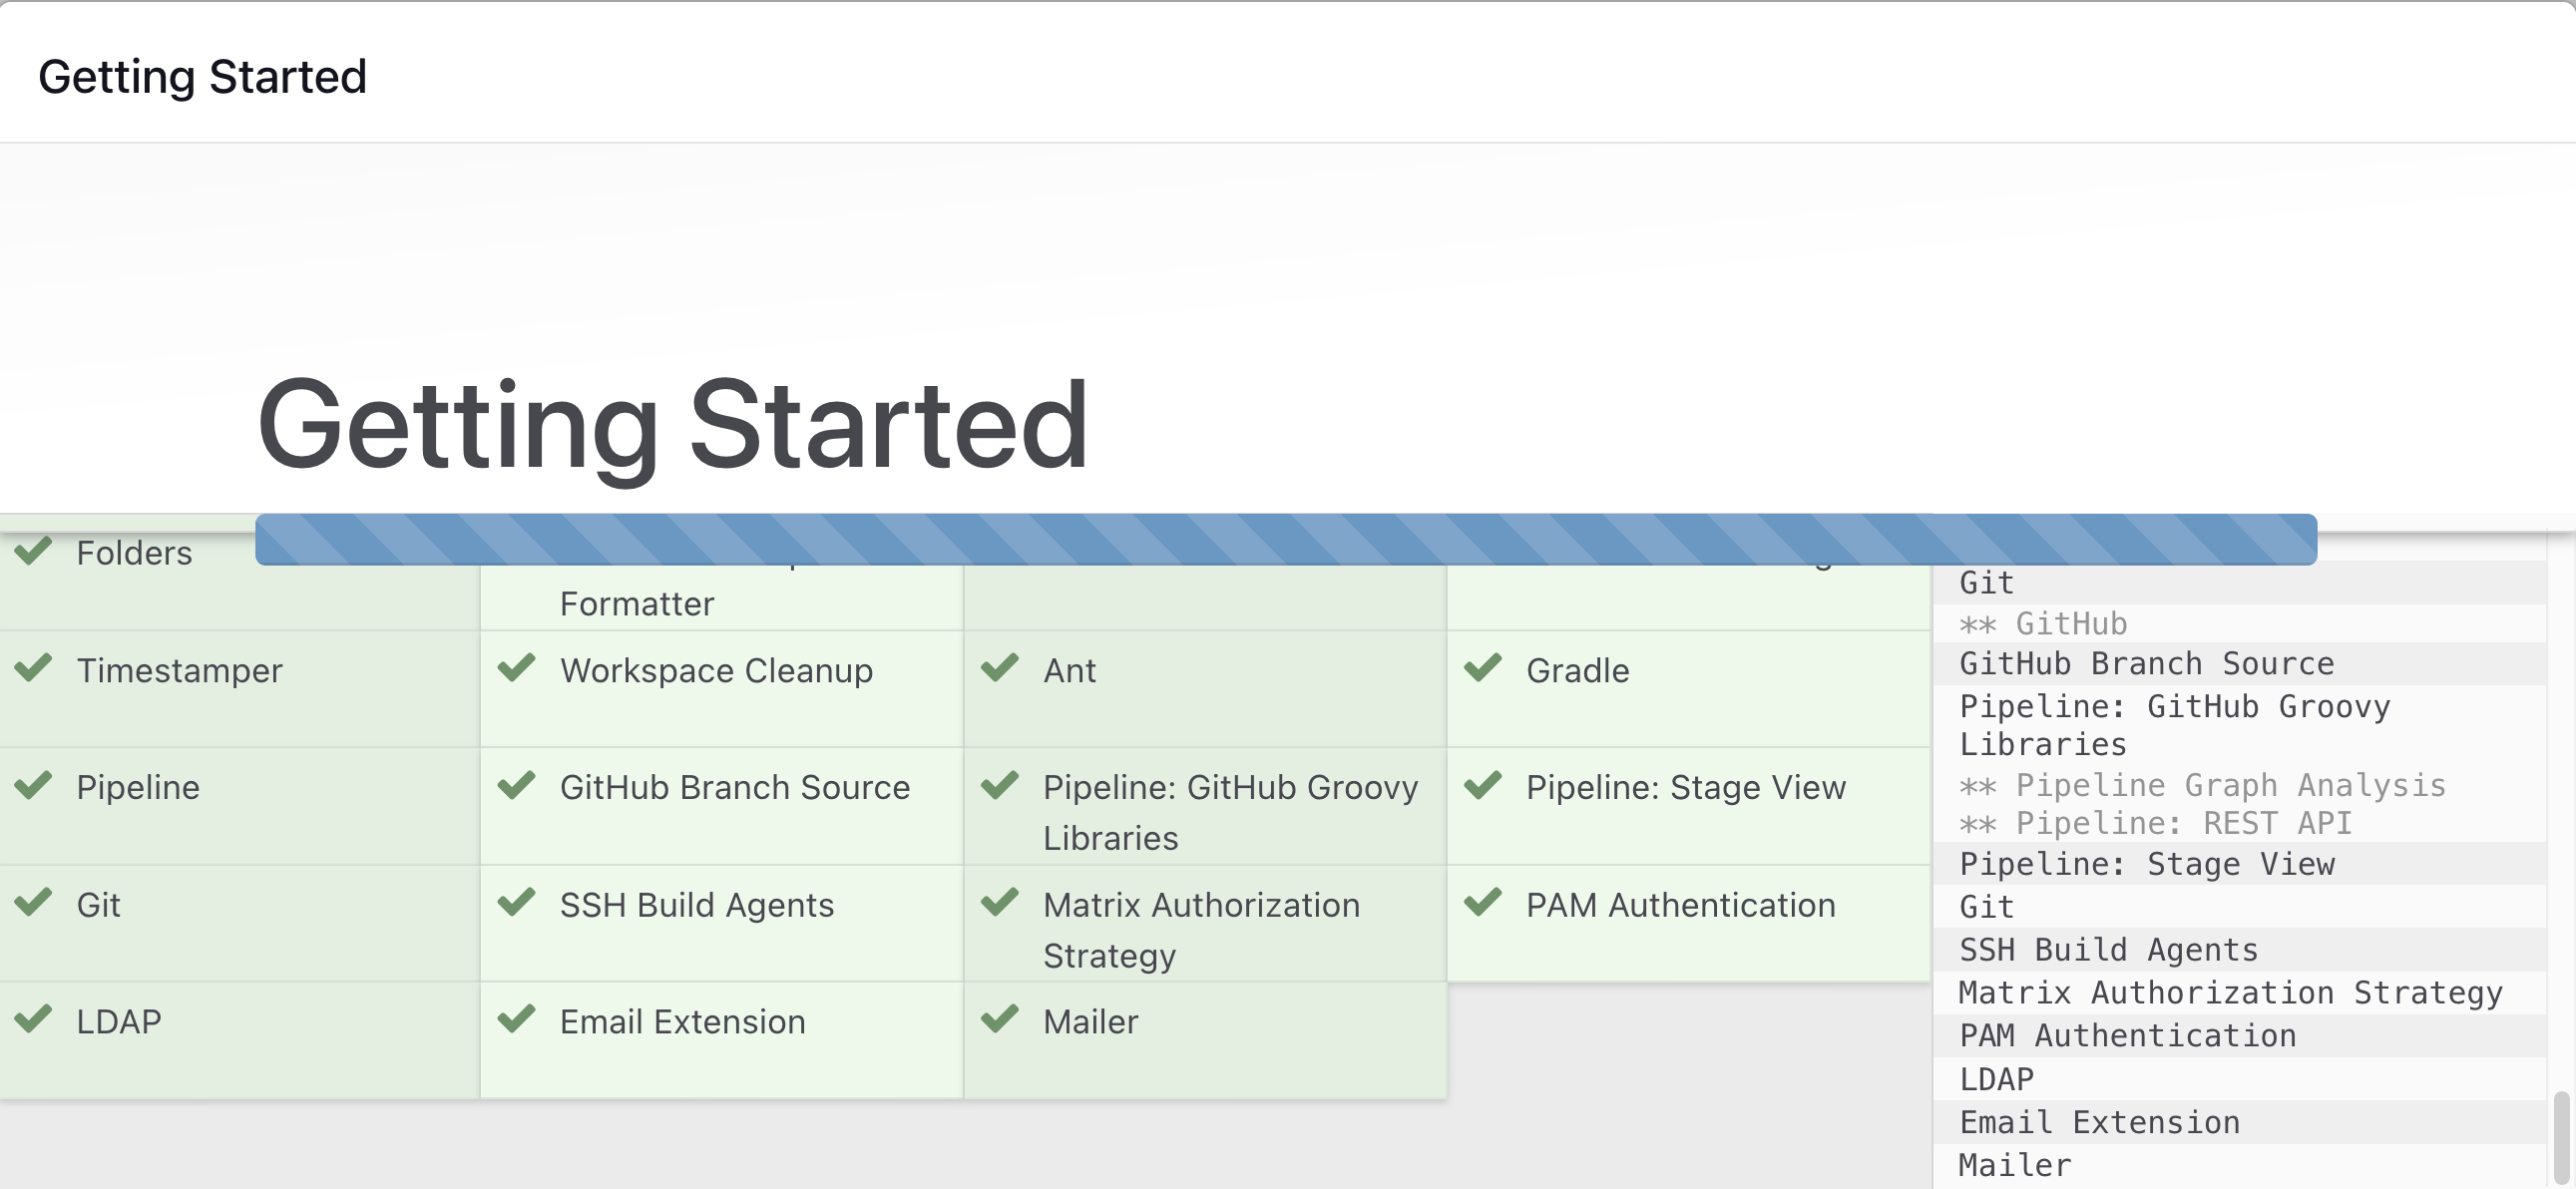
Wait for the Jenkins to Install suggested plugins
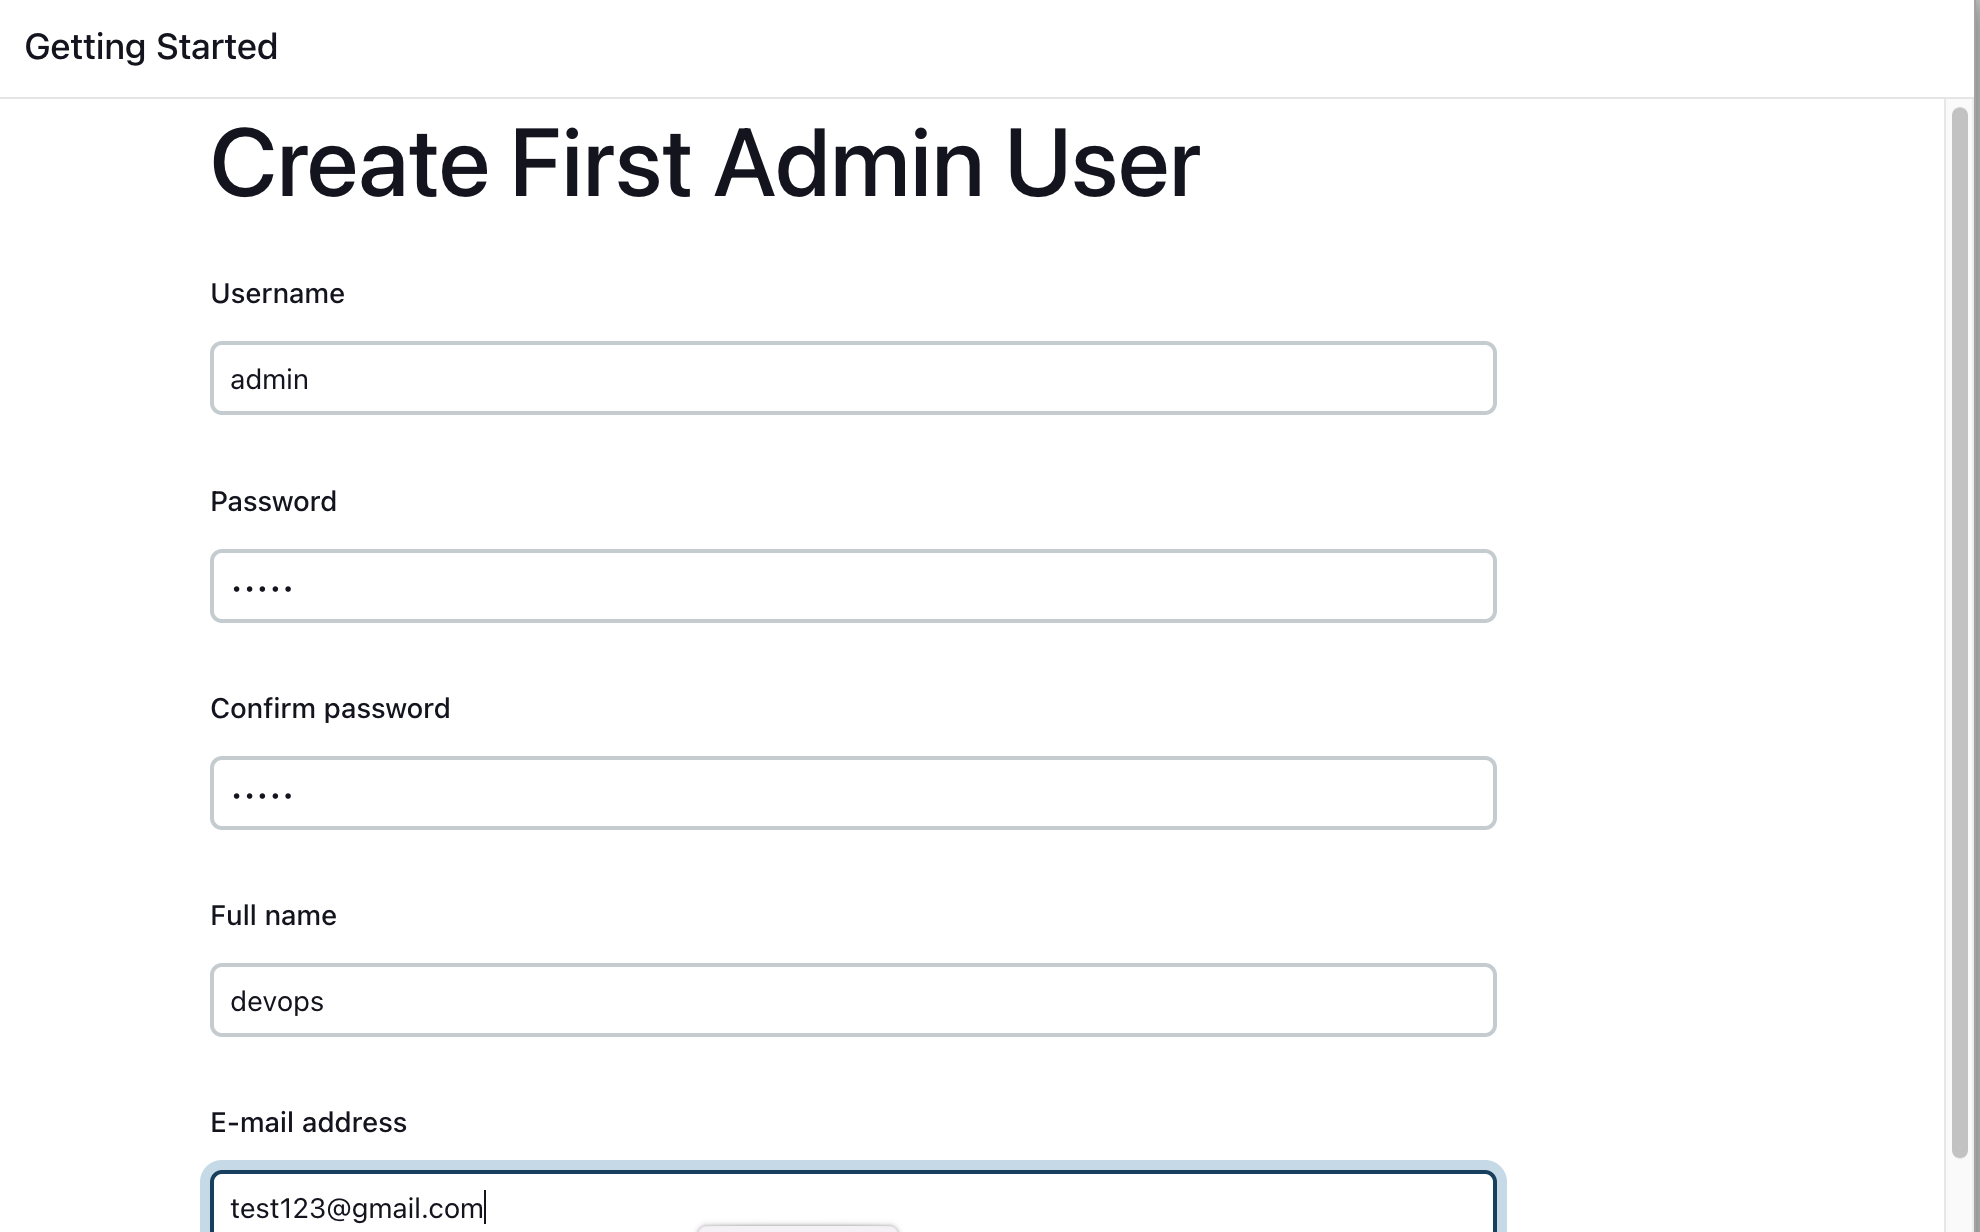
Create First Admin User or Skip the step [If you want to use this Jenkins instance for future use-cases as well, better to create admin user]
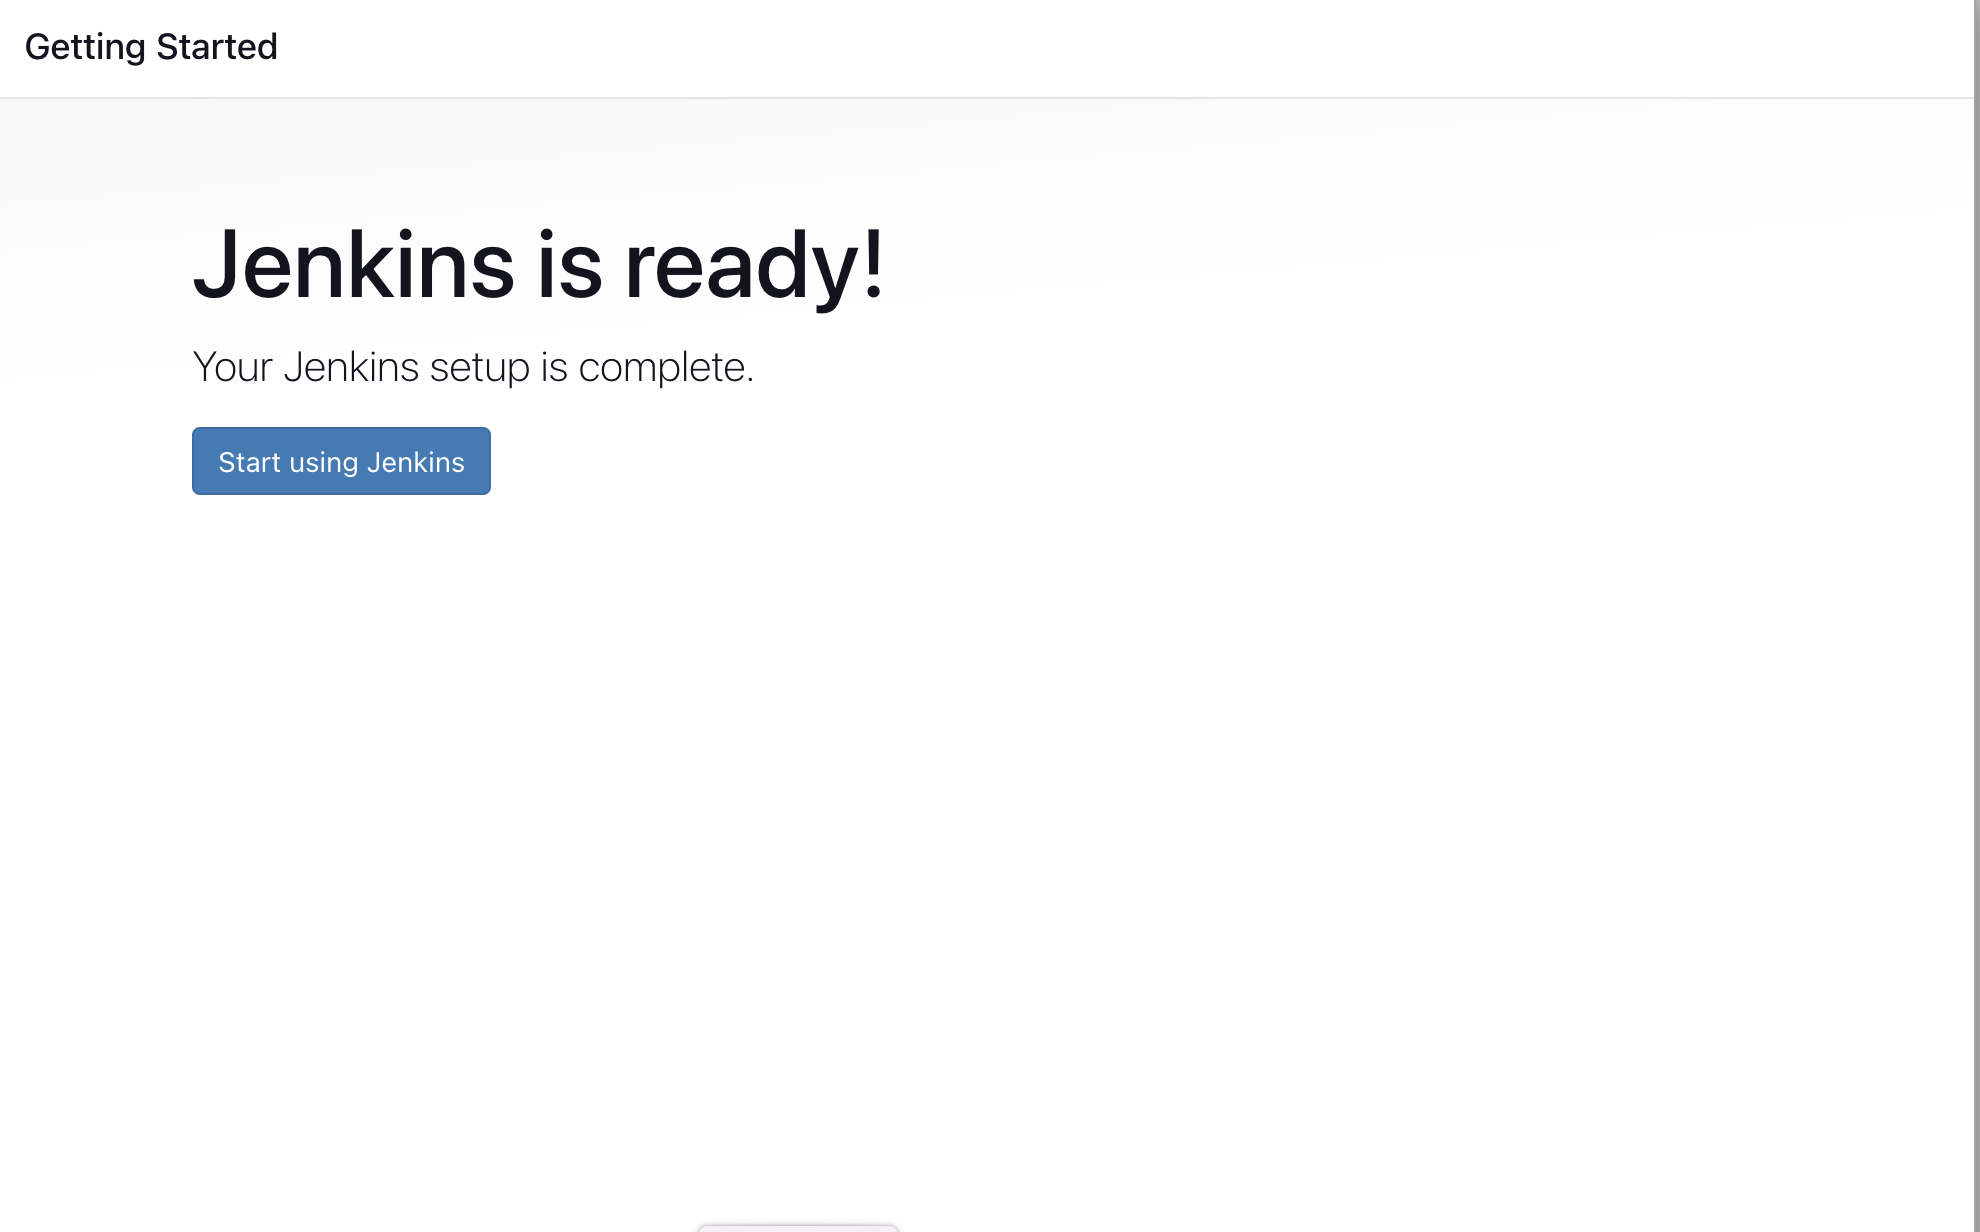
Jenkins Installation is Successful. You can now starting using the Jenkins
Install the Required plugins in Jenkins
Log in to Jenkins.
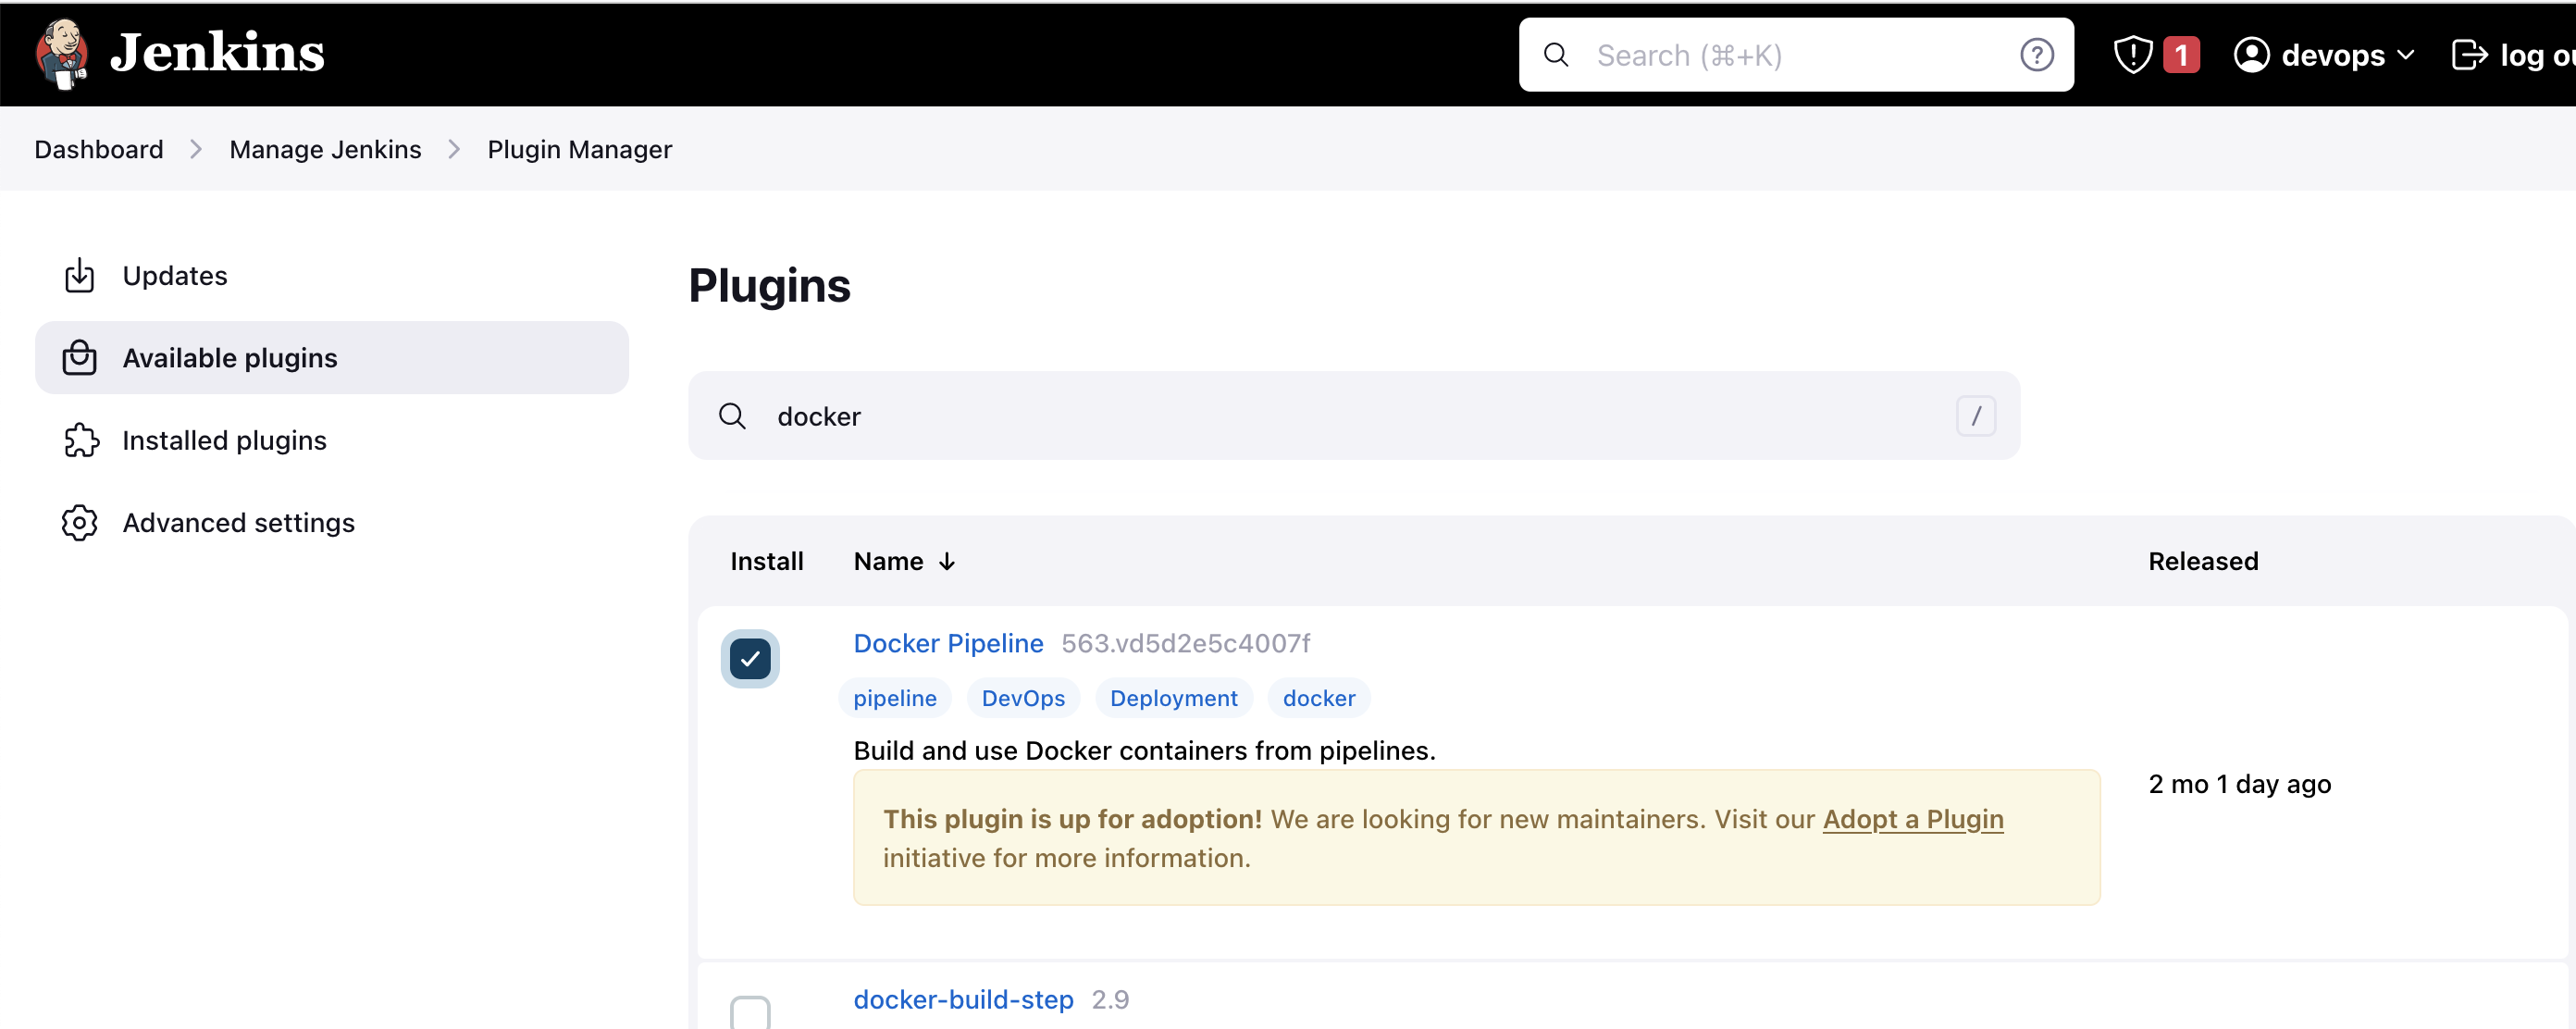
Go to Manage Jenkins > Manage Plugins.
In the Available tab, search for
Docker Pipeline,SonarQube Scanner.Select the plugins and click the Install button.
Restart Jenkins after the plugin is installed.
http://<ec2-instance-public-ip-address>:8080/restart
Wait for the Jenkins to be restarted.
Execute the application locally and access it using your browser
Checkout the repo and move to the directory
git clone https://github.com/iamsaikishore/Project3---java-maven-sonar-argocd-k8s.git
cd Project3---java-maven-sonar-argocd-k8s/sprint-boot-app
Execute the Maven targets to generate the artifacts
mvn clean package
The above maven target stroes the artifacts to the target directory. You can either execute the artifact on your local machine (or) run it as a Docker container.
Note: To avoid issues with local setup, Java versions and other dependencies, I would recommend the docker way.
Execute locally (Java 11 needed) and access the application on http://localhost:8080
java -jar target/spring-boot-web.jar
The Docker way
Build the Docker Image
docker build -t spring-boot-app:v1 .
docker run -d -p 8010:8080 -t spring-boot-app:v1
Hurray !! Access the application on http://<ec2-instance-public-ip-address>:8010

Configuring SonarQube server
sudo -i
amazon-linux-extras install java-openjdk11 -y
adduser sonarqube
su - sonarqube
wget https://binaries.sonarsource.com/Distribution/sonarqube/sonarqube-9.4.0.54424.zip
unzip *
chmod -R 755 /home/sonarqube/sonarqube-9.4.0.54424
chown -R sonarqube:sonarqube /home/sonarqube/sonarqube-9.4.0.54424
cd sonarqube-9.4.0.54424/bin/linux-x86-64/
./sonar.sh start
Note: By default, SonarQube will not be accessible to the external world due to the inbound traffic restriction by AWS. Open port 9000 in the inbound traffic rules as show below.
EC2 > Instances > Click on
In the bottom tabs -> Click on Security
Security groups
Add inbound traffic rules as shown in the image (you can just allow TCP 9000 as well, in my case, I allowed
All traffic).
Login to SonarQube using the below URL:
http://<ec2-instance-public-ip-address>:9000 [You can get the ec2-instance-public-ip-address from your AWS EC2 console page]
Note: If you are not interested in allowing All Traffic to your EC2 instance
- Delete the inbound traffic rule for your instance
- Edit the inbound traffic rule to only allow custom TCP port
9000
- Edit the inbound traffic rule to only allow custom TCP port
Hurray !! Now you can access the SonarQube Server on http://<ec2-instance-public-ip-address>:9000

Login using username: admin, Passsword: admin and Change the password

Now at the right top corner click profile icon -> My Account -> Security, Under Generate Token give a name and click Generate and copy the Token.


Configuring Credentials on Jenkins
For SonarQube
Go to Manage Jenkins > Manage Credentials > System > global > Add Credentials
Select Kind as Secret text
Copy the Sonarqube Token in Secret box and give name as sonarqube in ID
Click Save
For Git
Now go to your GitHub Account > Settings > Developer Settings > Personal access tokens > Tokens(classic) > Generate new token (classic)
Give a name, Select all check boxes, Click Generate token and Copy the token for future use
Go to Manage Jenkins > Manage Credentials > System > global > Add Credentials
Select Kind as Secret text
Copy the Git Secret Token in Secret box and give name as github in ID
Click Save
For DockerHub
Now go to DockerHub create a user and create a new repository with name 'spring-boot-app'
Go to Manage Jenkins > Manage Credentials > System > global > Add Credentials
Select Kind as Username and Password
Give the username and password and give name as docker-cred in ID
Click Save
Configuring Minikube server
mkdir minikube && cd minikube
vim minikube.sh
Copy the following script
#!/bin/bash

sudo apt-get update -y
sudo apt-get install apt-transport-https ca-certificates curl gnupg-agent software-properties-common -y
curl -fsSL https://download.docker.com/linux/ubuntu/gpg | sudo apt-key add -
sudo add-apt-repository "deb [arch=amd64] https://download.docker.com/linux/ubuntu $(lsb_release -cs) stable"
sudo apt-get update -y
sudo apt-get install docker-ce docker-ce-cli containerd.io -y

curl -LO https://storage.googleapis.com/kubernetes-release/release/`curl -s https://storage.googleapis.com/kubernetes-release/release/stable.txt`/bin/linux/amd64/kubectl
chmod +x ./kubectl
sudo mv ./kubectl /usr/local/bin/kubectl

curl -LO https://storage.googleapis.com/minikube/releases/latest/minikube-linux-amd64
sudo install minikube-linux-amd64 /usr/local/bin/minikube
####
echo the script is now ready
echo manually run minikube start --vm-driver=docker --cni=calico to start minikube

sudo usermod -aG docker $USER
newgrp docker

minikube start --vm-driver=docker --cni=calico
chmod u+x minikube.sh
./minikube.sh
minikube start
Configure ArgoCD
Go to operatorhub.io, search for ArgoCD and click Install Install Argo CD
Install Operator Lifecycle Manager (OLM), a tool to help manage the Operators running on your cluster.
curl -sL https://github.com/operator-framework/operator-lifecycle-manager/releases/download/v0.24.0/install.sh | bash -s v0.24.0
- Install the operator by running the following command:What happens when I execute this command?
$ kubectl create -f https://operatorhub.io/install/argocd-operator.yaml
This Operator will be installed in the "operators" namespace and will be usable from all namespaces in the cluster.
- After install, watch your operator come up using next command.
$ kubectl get csv -n operators
The following example shows the most minimal valid manifest to create a new Argo CD cluster with the default configuration.
$ vim basic-argocd.yml

apiVersion: argoproj.io/v1alpha1
kind: ArgoCD
metadata:
  name: example-argocd
  labels:
    example: basic
spec: {}
kubectl create -f basic-argocd.yml
kubectl get pods,svc
Note It will take some time to bring up the pods
Once the pods are up change the ClusterIP service to Nodeport to access Argo CD UI
kubectl edit service example-argocd-service
Change type: ClusterIP to type: NodePort
kubectl get po,svc

kubectl get svc
minikube service example-argocd-service
minikube service list

Note As we are using Nodeport service we can access ArgoCD UI within the network
Now copy the ip-address of example-argocd-service, paste it in the browser, in my case am using virtual box

Username is 'admin' and for password
kubectl get secret
kubectl edit secret example-argocd-cluster
Copy the encoded secret
echo <encoded-secret> | base64 -d


copy the decoded secret for password and login

Click on CREATE APPLICATION


Now click CREATE

Jenkins Pipeline
git clone https://github.com/iamsaikishore/Project3---java-maven-sonar-argocd-k8s.git
cd Project3---java-maven-sonar-argocd-k8s/spring-boot-app
ls -l
Go through the JenkinsFile, Dockerfile, pom.xml
cat Dockerfile
# You can change this base image to anything else
# But make sure to use the correct version of Java
FROM adoptopenjdk/openjdk11:alpine-jre

# Simply the artifact path
ARG artifact=target/spring-boot-web.jar

WORKDIR /opt/app

COPY ${artifact} app.jar

# This should not be changed
ENTRYPOINT ["java","-jar","app.jar"]
This Dockerfile is used to build a Docker image for a Spring Boot web application using OpenJDK 11 on an Alpine Linux distribution.
The first line specifies the base image that will be used to build the Docker image. In this case, the image being used is "adoptopenjdk/openjdk11:alpine-jre", which is a pre-built image containing OpenJDK 11 on Alpine Linux.
The second line specifies an argument that will be used to pass the path of the application's artifact (JAR file) to the Docker build process.
The third line sets the working directory within the Docker container to "/opt/app".
The fourth line copies the application's artifact (specified by the "artifact" argument) to the Docker container and renames it to "app.jar".
The final line specifies the command that will be run when the Docker container is started. In this case, it runs the Java command to execute the "app.jar" file.
Overall, this Dockerfile sets up a simple and efficient environment for running a Spring Boot web application using Java 11 on Alpine Linux.
cat JenkinsFile
This is a Jenkins Pipeline script that automates the building, testing, analysis, and deployment of a Spring Boot web application using Maven, Docker, and Kubernetes.
The script defines a pipeline with multiple stages, each of which represents a step in the build process.
The agent section defines the Jenkins agent to be used in the pipeline. In this case, the agent is a Docker container based on the 'abhishekf5/maven-abhishek-docker-agent:v1' image. The 'args' option is used to mount the Docker socket on the host machine to the container so that it can access the Docker daemon on the host machine. The '--user root' option is used to run the container as the root user, which is required to perform certain privileged operations such as building Docker images.
The first stage, "Checkout", checks out the source code from a Git repository.
The second stage, "Build and Test", builds the project and creates a JAR file using Maven.
The third stage, "Static Code Analysis", performs static code analysis using SonarQube. The SonarQube server is specified using the "SONAR_URL" environment variable, and the authentication token is obtained using the "sonarqube" credential.
The fourth stage, "Build and Push Docker Image", builds a Docker image using the JAR file and the Dockerfile located in the "spring-boot-app" directory. The resulting Docker image is tagged with the build number and pushed to a Docker registry using the "docker-cred" credential.
The fifth stage, "Update Deployment File", updates the Kubernetes deployment file located in the "spring-boot-app-manifests" directory to use the newly built Docker image. The update is performed using a sed command, and the changes are committed to the Git repository using the "github" credential.
Overall, this pipeline script provides an efficient and automated way to build, test, analyze, and deploy a Spring Boot web application using the Jenkins continuous integration server.
This end-to-end Jenkins pipeline will automate the entire CI/CD process for a Java application, from code checkout to production deployment, using popular tools like SonarQube, Argo CD and Kubernetes.
Now push the repository to your GitHub. Before pushing to GitHub don't forget to change the required configurations like GitHub Repo details, Sonar URL, DockerHub details,
cd Project3---java-maven-sonar-argocd-k8s
#delete the .git directory ex: rm -rf .git
git init
git add .
git commit -m "commit-message"
git remote add origin <your-github-repo-url>
git push origin master

Create a new Jenkins pipeline job:
- In Jenkins, create a new pipeline job and configure it with the Git repository URL for the Java application.


Now Build the Job and wait for the build process to complete.
Monitor the pipeline stages and fix any issues that arise.

Once the build is successful, go to the sonarqube server and check the projects results.


Now go to Docker Hub Repository and check for the pushed image

Now go to Argo CD server, refresh the page and check deployments.

Now to access the server within the network
vim spring-service.yml


Now copy the service ip address in the browser

Hurrayyyyyyyyy! We have deployed the application successfully.
Hope you all are Enjoyed