

Deploying a Web-Login-Automation Application into ECS cluster
End-to-End DevOps Project using Terraform


In this project, I provisioned the infrastructure using Terraform (resources like VPC, IAM, S3, Loadbalancer, ECR, and ECS) and dockerized the application, and deployed the same into the ECS cluster.
Tools Used:
Git, GitHub, Github Actions
Jenkins
Docker
Terraform
AWS (ECS, ECR, VPC, LoadBalancer, Cloudwatch, S3, DynamoDB, EC2, IAM), AWS CLI
First login to your linux server by creating an EC2 instance.
Configuring Tools:
Configuring Git:
$ sudo yum install git -y
$ git version
Configuring Jenkins:
$ sudo wget -O /etc/yum.repos.d/jenkins.repo \
    https://pkg.jenkins.io/redhat-stable/jenkins.repo
$ sudo rpm --import https://pkg.jenkins.io/redhat-stable/jenkins.io-2023.key
$ sudo yum upgrade -y
# Add required dependencies for the jenkins package
$ sudo yum install java-11-openjdk -y
$ sudo yum install Jenkins -y

$ sudo systemctl start Jenkins.service
Now in the browser, search with ip address of the instance and port number (ex: 10.0.0.1:8080)
$ cat /var/lib/jenkins/secrets/initialAdminPassword
Copy the password in Jenkins, install the plugins and create a user.
Configuring Docker:
$ sudo yum install -y yum-utils
$ sudo yum-config-manager \
    --add-repo \
    https://download.docker.com/linux/rhel/docker-ce.repo
$ sudo yum install docker-ce docker-ce-cli containerd.io docker-buildx-plugin docker-compose-plugin
$ sudo systemctl start docker
Verify that Docker Engine is installed correctly by running the hello-world image.
$ sudo docker run hello-world
Add the user to docker group
$ usermod -aG docker <username>
Configuring Terraform:
$ sudo yum install -y yum-utils
$ sudo yum-config-manager --add-repo https://rpm.releases.hashicorp.com/RHEL/hashicorp.repo
$ sudo yum -y install terraform
$ terraform version
Configuring AWS CLI:
$ curl "https://awscli.amazonaws.com/awscli-exe-linux-x86_64.zip" -o "awscliv2.zip"
$ unzip awscliv2.zip
$ sudo ./aws/install
Now go to AWS IAM Console and create a user with Programmatic Access and attach the required policies, in my case i have attached AdministrativeAccess and note the ACCESS_KEY and SECRET_ACCESS_KEY.
$ aws configure
Give the ACCESS_KEY, SECRET_ACCESS_KEY, REGION and FORMAT.
Now create a directory and clone the git repository
$ mkdir project_web && cd project_web
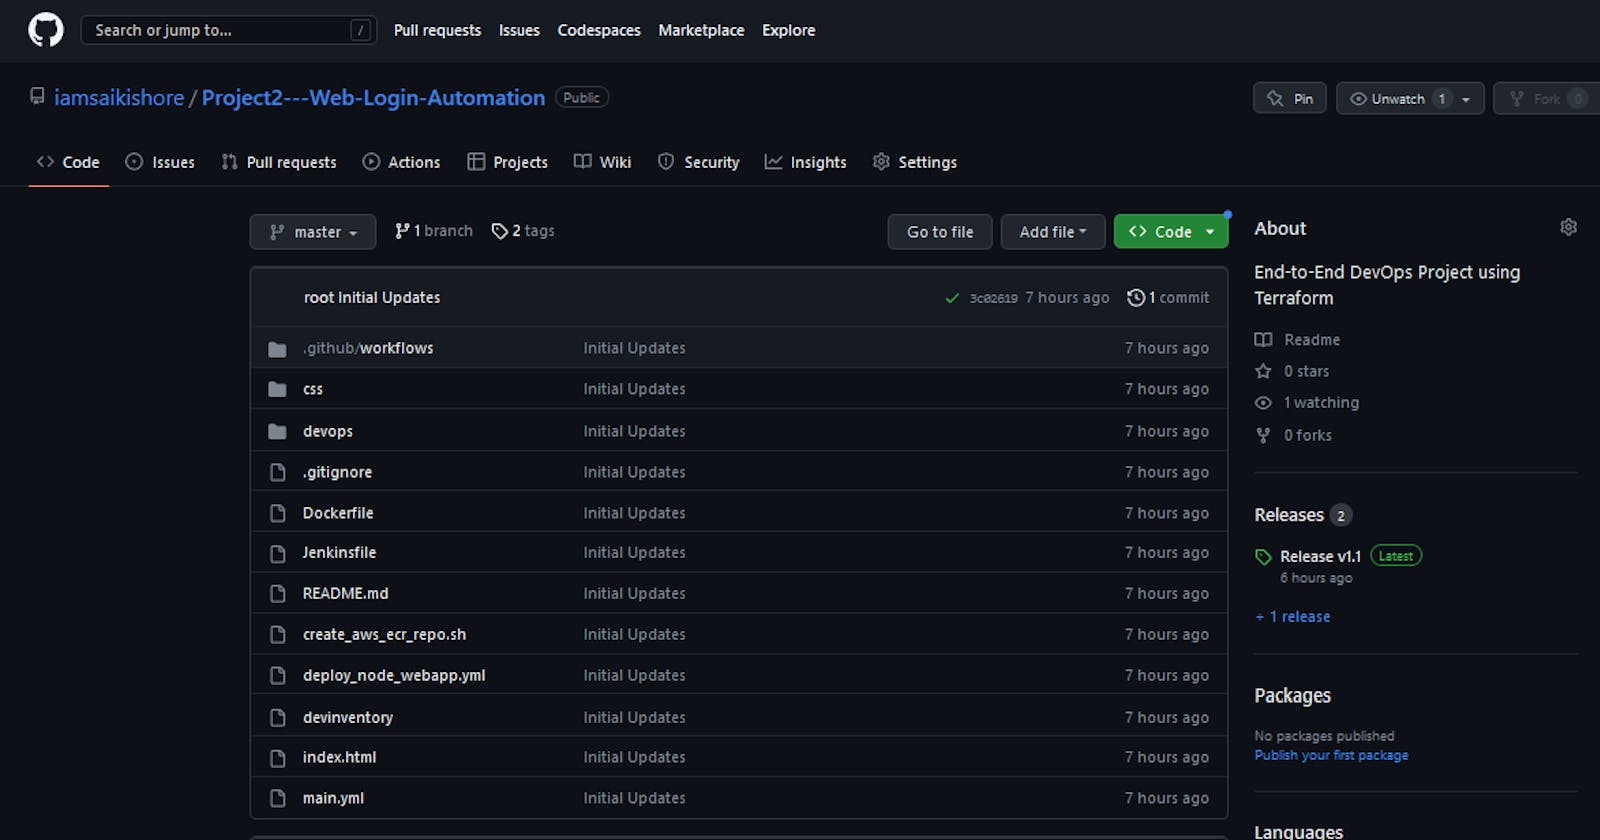
$ git clone https://github.com/iamsaikishore/Project2---Web-Login-Automation.git
$ cd Project2---Web-Login-Automation

Now check the Dockerfile where we have taken the base image as ubuntu:latest and installed apache server and copied the application files and starting the apache server in foreground

Now go to devops/ directory and check the terraform configuration file cd devops/. Go through each terraform configuration file to know how the resources will provisioned.

In this tutorial i explained two methods to deploy the application, first method is using Github Actions as CICD and second using Jenkins as CICD
Method: 1
Using GitHub Actions
Now check the Github Actions workflow yaml file which is equivalent to jenkins pipeline


This appears to be a YAML file defining a GitHub Actions workflow for a continuous integration (CI) process. Here's a breakdown of what each part of the file is doing:
name: CI This sets the name of the workflow to "CI".
on: This defines the event that triggers the workflow, in this case a push to any tag in the repository.
jobs: This section defines the jobs that will be run as part of the workflow.
build: This is the name of the first job.
runs-on: self-hosted: This specifies that the job will be run on a self-hosted runner, which is a machine that the user has set up themselves rather than using GitHub's hosted runners.
steps: This is an array of steps that will be executed as part of the job.
name: Check out the repo: This step checks out the repository that the workflow is running on.
name: Set Release version: This step sets an environment variable called "RELEASE_VERSION" to the value of the tag that triggered the workflow.
name: build docker image and push to ecr repo: This step builds a Docker image for a Node.js application and pushes it to an Amazon Elastic Container Registry (ECR) repository.
env: This specifies environment variables that will be available during the execution of the step. AWS_ACCESS_KEY_ID, AWS_SECRET_ACCESS_KEY, and AWS_REGION are all environment variables used to authenticate and authorize AWS operations via AWS CLI.
name: Check tag version: This step echoes the value of the "RELEASE_VERSION" environment variable and some other environment variables that have been set during the workflow.
name: terraform initialization: This step initializes the Terraform configuration for deploying the application infrastructure.
name: terraform deployment: This step applies the Terraform configuration with a variable called "tag" set to the value of the "RELEASE_VERSION" environment variable, which ensures that the correct version of the application is deployed. The "-auto-approve" flag automatically approves any prompts from Terraform, making the deployment process fully automated.
Now go to GitHub and create a repository.
Now push the code to your GitHub repository.
$ git init
$ git add .
$ git commit -m "your_commit_message"
$ git add remote origin <your_githubrepo_url>
$ git push origin master

As we mentioned in github workflow yaml file main.yml. we have to add secret variables. For that go to repository Settings --> Secrets and variables --> Actions and click New repository secret and add secrets.
For example:
AWS_REGION : ap-south-1
AWS_ACCESS_KEY_ID : AKIAWALDQDO2GTG57X4G
AWS_SECRET_ACCESS_KEY : dQSOkcNHQW7XIzee9QfVI+ApOpJAo8HrL19AFk+T
ECR_REPO_NAME : 411976891657.dkr.ecr.ap-south-1.amazonaws.com (411976891657 is AWS Account ID)


As we mentioned runs-on: self-hosted in github workflow yaml file main.yml, for that launch an EC2 instance with Ubuntu image. Now go to repository Settings --> Actions --> Runners and click New self-hosted runner

Now Select the appropriate options and run the mentioned commands on ubuntu server.


Now check the Runners.


Now create a tag which will trigger the CI Job Releases --> Draft a new release --> Choose a tag --> Enter v1.0 --> + Create new tag:v1.0 --> Publish release this will trigger the CI Job.


Now Actions --> CI --> Initial Updates --> build


Now copy the loadbalancer dns kishq-load-balancer-572781093.***.elb.amazonaws.com and replace '***' with the AWS Region kishq-load-balancer-572781093.ap-south-1.elb.amazonaws.com and search in the browser.

Hurrayyyyyyyyy! We have deployed the application successfully.
Method: 2
Using Jenkins
Check the Jenkinsfile which is the declarative pipeline script.
Now go to GitHub and create a repository.
Now push the code to your GitHub repository.
$ git init
$ git add .
$ git commit -m "your_commit_message"
$ git add remote origin <your_githubrepo_url>
$ git push origin master
To configure AWS credentials in Jenkins:
On the Jenkins dashboard, go to
Manage Jenkins>Manage Pluginsin theAvailabletab. Search for the `Pipeline: AWS Steps' plugin and choose Install without restart.Navigate to
Manage Jenkins>Manage Credentials>(global)>Global Credentials>Add CredentialsSelect Kind as AWS credentials and use the ID sam-jenkins-demo-credentials.
Enter the access key ID and secret access key and choose OK.
Now create a pipeline job, copy the jenkins pipeline script, don't forget to make the necessary changes(ex: ECR_REPO_NAME, Git Repo link, AWS Credentials ID)

Now build the job by clicking Build Now and go to the Console Output copy the loadbalancer ip and search in the browser, you can access the application.
Hurrayyyyyyyyy! We have deployed the application successfully.
Hope you all are Enjoyed